
How to Measure for Your Handrail
Not sure which handrail you need, or what size to order? This guide walks you through measuring your steps, slope or doorway and choosing the right Obsydian handrail. All you need is a tape measure, a pencil and about ten minutes.
Every rail we make is handcrafted by our family team in Sussex and adjusts to suit your gradient, so you don't need to be exact to the millimetre. If you're still unsure after reading this, give us a call or email us a photo of your steps and we'll happily help you choose.
Step 1: Which type of handrail do you need?
Start by looking at what's beside your steps or slope. That usually decides the type of rail for you.
Wall mounted
There's a solid brick, block or stone wall running alongside your steps for the whole length of the rail.
How to measureOn two or more posts
Free-standing steps with no wall beside them. Posts bolt down, bolt to the side of the steps or concrete in.
How to measureOne post & wall bracket
A short flight of steps up to (or down from) a door, with the house wall at one end to fix a bracket to.
How to measureConcrete-in posts
Soil, grass or gravel beside your steps or slope, where you can dig holes and set the posts in concrete.
How to measureQuick decision guide
- Is there a solid wall right beside the steps for the full length you want to hold?Yes: choose a wall mounted handrail. It's the simplest to fit and needs no digging.
- Is it a short flight leading to a door, with the house wall at the top?Yes: choose a handrail on one post with a wall bracket. The bracket fixes beside the door and a single post stands at the other end.
-
No wall to use? Look at the ground beside the steps. Soil, grass or gravel: concrete-in posts.
Solid concrete or stone: bolt-down posts.
No room beside the steps, or you don't want to lose tread width: side bolt posts that fix to the side face of the steps.
You can also mix them, for example one bolt-down and one concrete-in post. See handrails on two posts. - Longer than about 2.4m?Choose a rail on three or four posts.
Measuring for a wall mounted handrail
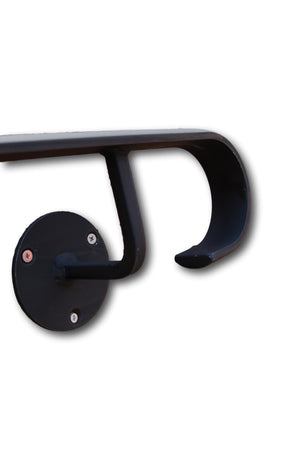
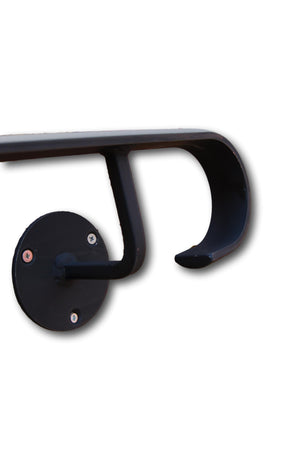
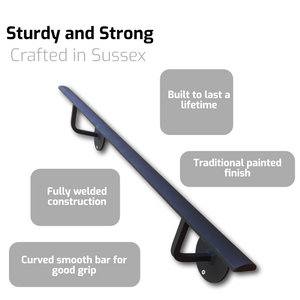
Our wall mounted rails fix to the wall with round wall plates and screws and plugs suitable for brick and concrete (included). They can be fitted at an angle up steps, or level as a grab rail.
How to measure
- Measure along the steps. Hold your tape on the nose of the bottom step and run it up to the nose of the top step, keeping it resting on each nosing (Figure 2). Write this down as A.
- Decide how far the rail should reach. It's best to have something to grab as you step on at the bottom and off at the top, so most people add roughly 15–30cm at each end. Rail length ≈ A + your extra at the top + your extra at the bottom.
- Check the wall is long enough. Make sure there's solid wall for the whole rail length, including the end wall plates.
- Check where the wall plates will land (Figure 3). The plates sit about 15cm in from each end, with a middle plate (or more) on longer rails. Each plate needs to go into sound brick, block or stone, clear of downpipes, window and door frames, air bricks and any hidden cables or pipes.
- Choose your size. Our rails come in 10cm steps. Pick the nearest size, and round down if wall space is tight.
Tip: Stick masking tape on the wall along where you'd like the rail to go, roughly 90cm above the step nosings. Stand back, walk up and down the steps, and adjust it until it feels right. Then measure the masking tape. That's your rail length.
Measuring for a handrail on two or more posts (up steps)
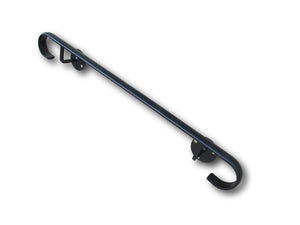
These rails are free-standing, so you don't need a wall. The rail pivots on top of the posts to match the angle of your steps. The posts are 40mm × 40mm, the rail sits roughly 90cm above the ground, and the rail carries on 20cm past each post before finishing in a curl.
How to measure
- Decide where each post will stand. Usually one at the bottom of the steps and one at the top, on the ground or on the step itself, depending on the post type (Figure 5).
- Measure between the post positions along the slope. Run your tape from where the centre of the bottom post will be to where the centre of the top post will be, parallel to the step nosings. This is your post spacing.
- Add 44cm (20cm overhang plus half a post at each end). That's your overall rail length.
- Pick the nearest size. Two-post rails come from 1m to 2.4m in 10cm steps. Because you set out the posts to suit the rail, you don't need to be exact. Choose the size that best covers your steps and position the posts to match when you fit it.
Example: your post positions are 1.50m apart along the slope. 1.50m + 0.44m = 1.94m, so order a 1.9m or 2.0m rail.
Longer runs: how many posts?
Tip: A straight wooden batten makes measuring along the pitch line much easier. Lay it on the nose of each step so it follows the slope of the steps, then measure along it. While it's in place, mark on the batten where you'd like each post to sit. Keep the batten, because when your rail arrives you can lay it back on the steps and use your marks to position the posts as you install it.
Measuring for a handrail on one post with a wall bracket (beside a door)
This is the go-to rail for a short flight of steps up to a front door or down from a back door into the garden. One end fixes to the house wall beside the door with a wall bracket. The other end sits on a single post (bolt-down or concrete-in) at the bottom of the steps. The rail pivots at both ends so you can set the angle, and it carries on 20cm past the post. Sizes run from 0.8m to 2.2m.
How to measure
- Choose the side. Pick the side of the steps you'd naturally hold, ideally the side of your stronger hand going down, and check there's sound wall beside the door frame for the bracket.
- Mark the post position at or just beyond the bottom step, on solid concrete for a bolt-down post or on soil/grass for a concrete-in post.
- Measure from the wall to the centre of the post position (A), running your tape down at the angle the rail will take.
- Add about 22cm for the rail that continues past the post. Overall length ≈ A + 22cm.
- Check the bracket height. The rail sits roughly 90cm above the ground at the post. The wall bracket must be at the same height or higher than the top of the post, which is naturally the case when the door is at the top of the steps.
- Pick the nearest size (0.8m to 2.2m, in 10cm steps). You can move the post slightly when fitting to suit the rail you buy.
Measuring for a handrail on concrete-in posts (up steps or a slope)
Concrete-in posts are ideal where there's soil, grass or gravel beside your steps, path or ramp. There's no drilling into your steps. Dig a hole for each post, stand it upright and set it in concrete or postcrete. Each post is 500mm longer than the visible height, so there's plenty to bury, and the rail pivots to follow your slope or steps.
How to measure
- Check you can dig. You need soil, grass or gravel where each post will go, with no buried services, drains or concrete footings in the way.
- Mark the post positions beside the bottom and top of the steps, or at each end of the slope.
- Measure the post spacing along the slope. Lay your tape on the ground (for a slope) or parallel to the step nosings (for steps), centre to centre.
- Add about 44cm for the 20cm overhang at each end. That's your overall length.
- Choose the size and number of posts. Two posts for 1m to 2.4m, or three or four posts for longer runs (Figure 6). Fine-tune the hole positions when you fit, to suit the rail you've bought.
Tip: Only one end on soil? You can mix post types. We make a rail with one bolt-down and one concrete-in post for exactly this situation.
At a glance
| Rail type | What to measure | Size to order |
|---|---|---|
| Wall mounted | Along the step nosings (A), plus however far you want it to reach past the top and bottom steps | A + extras, rounded to the nearest 10cm (down if wall space is tight) |
| Two or more posts | Centre of bottom post to centre of top post, along the slope | Post spacing + ≈44cm |
| One post & wall bracket | Wall face to centre of the post, along the slope | Distance + ≈22cm |
| Concrete-in posts | Between post positions, along the ground or step nosings | Post spacing + ≈44cm |
Before you order, check:
- I've measured along the slope, not horizontally
- Wall rails: every wall plate lands on sound masonry, clear of pipes, frames and air bricks
- Post rails: I know what each post fixes into (soil, solid concrete, or the side of the steps)
- One-post rails: the wall bracket will be at or above the height of the post top
- Concrete-in: I've checked for buried cables, pipes and drains
- I've chosen my finish: bare metal or black zinc primed (see Finishes)
Once your rail arrives, our step-by-step installation guides cover fitting each type.
Still not sure? Just ask us.
We're a small family business and we're always happy to talk it through. Send us a photo of your steps or slope with a few rough measurements and we'll tell you exactly which rail and size to order.